How to make sharp edges
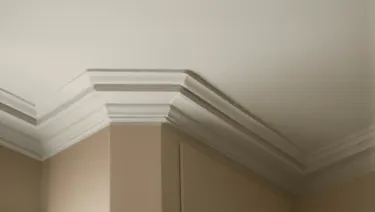
Create sharp edges
Sharp, flawless edges make all the difference. With the right preparation and technique, masking tape helps you achieve clean lines and a professional finish.
Preparation
Remove dirt, dust, grease, and any loose material before starting. The surface must be clean and dry.
Apply masking tape carefully to the areas you want to protect, such as window frames, sockets, light switches, skirting boards, door handles, and door frames.
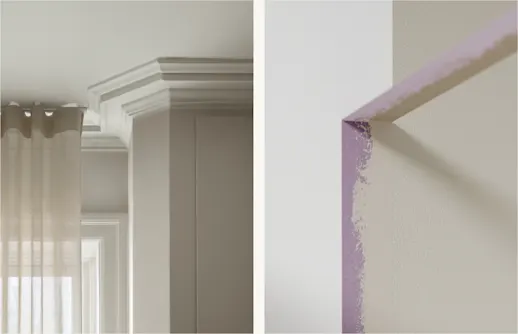
Step by step
Step 1
Apply the masking tape in straight lines. Once the tape is correctly positioned, press it down firmly along the edges to create a tight seal.
Smooth out any air bubbles or loose areas with your fingers to help prevent paint from seeping underneath the tape. For the cleanest results, use long, continuous strips of tape where possible. Fewer breaks help create sharper, more consistent lines.
Tip: Once the tape is firmly applied, seal the edge by applying a thin layer of the same product and colour as the surface you want to protect. This prevents paint from leaking underneath the tape and ensures sharp, precise edges.
Step 2
When painting, always work away from the edge of the tape to avoid pushing paint underneath. Take your time and allow the tape to protect the areas around your work. For the sharpest finish, remove the masking tape while the paint is still slightly wet or within 24 hours. Carefully peel the tape back at an angle to reveal the clean, precise edges.
Tip: Avoid stretching the tape when applying it, as this can cause it to lift or create uneven edges. Firm, even pressure along the tape edge helps achieve the best result.
Find our quality tape here and more support in our Tips & Tricks videos covering best practices and application techniques.